Let’s be real: as much as I love streaming Apple Music on my phone, there are times when I just want to keep my favorite tracks offline on my Windows PC. Whether I’m working, editing videos, or just chilling with some new tunes, having actual MP3s makes life easier. After trying a bunch of different tools, I keep coming back to iMusicGo—it just gets the job done, no drama.
Why Even Bother Downloading Apple Music?
Yeah, I know Apple Music has offline mode. But that only works inside the official app, and you can’t actually use the music files elsewhere (hello, iTunes DRM). I wanted to save my playlists and songs as good old MP3s, so I could:
- Listen on my PC anytime, with any player
- Move tracks to my phone, USB, or car
- Use songs as background music for my projects
I’ve gone through my fair share of so-called “best Apple Music downloaders for Windows”—some were sketchy, some were complicated, and some just didn’t work at all. Most free ones have limitations or get stuck on protected files. That’s when I found iMusicGo—and honestly, I’ve barely looked back since.
How to Download Apple Music Songs/Playlists/Albums with iMusicGo
Downloading Apple Music tracks with iMusicGo is simple and fast. Just follow these easy steps to start downloading your favorite songs, albums, and playlists.
Step 1: Download and Run iMusicGo on Your Computer
First, download and install iMusicGo on your Windows PC or Mac. You can get the installer from the official website, and the installation process is quick and straightforward. Once the installation is complete, open iMusicGo.

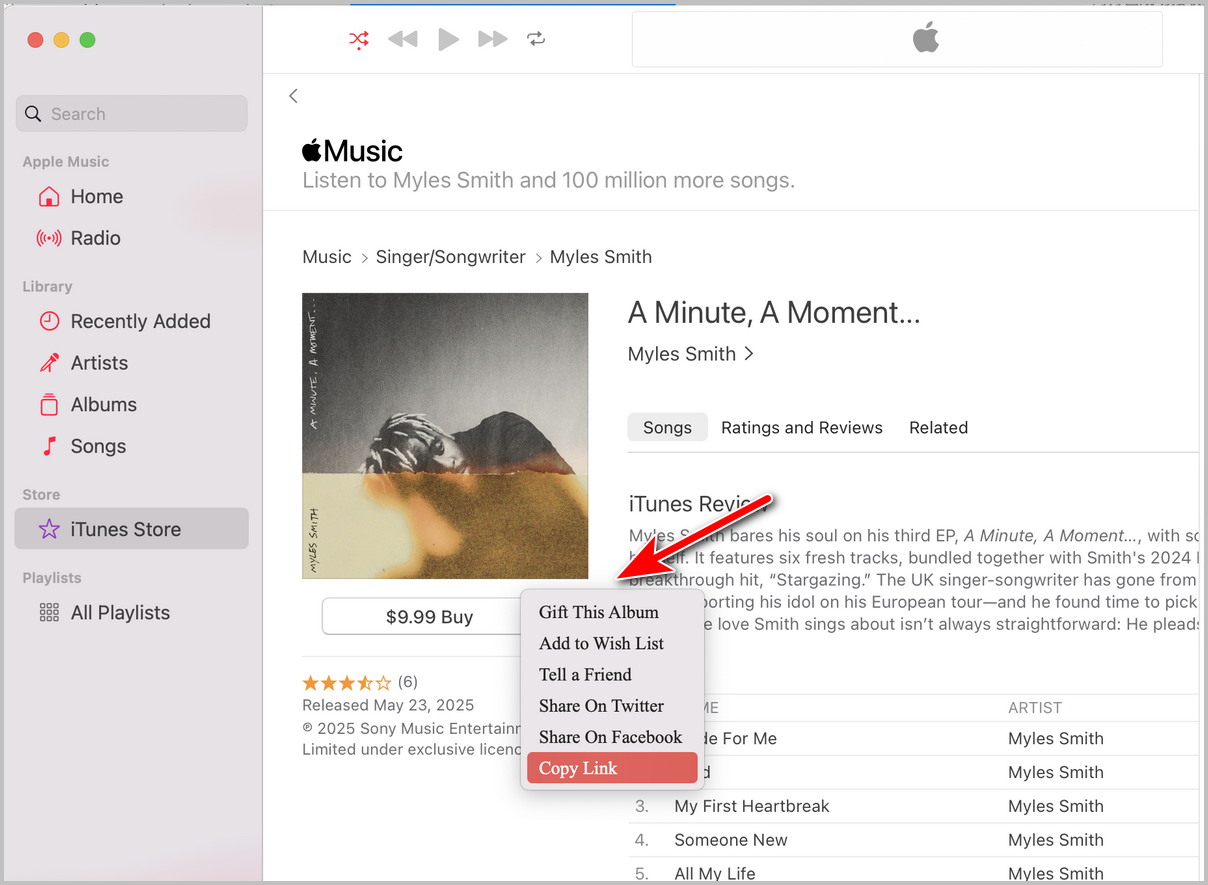
Step 2: Copy Apple Music Link
Go to the Apple Music web site (https://music.apple.com/) and copy the music link from browser’s address bar.

Or you can open the Music app on your computer and use the built-in search feature to find the Apple Music songs, albums, or playlists you want to download. You can search by song title, artist name, or album name. After that, copy the link of Apple Music songs, playlists or albums.
Step 3: Paste Apple Music Link and Choose a Download Folder
Paste the music link into the iMusicGo app and choose a local folder to save the downloaded songs. By default, the music will be downloaded and converted to MP3.
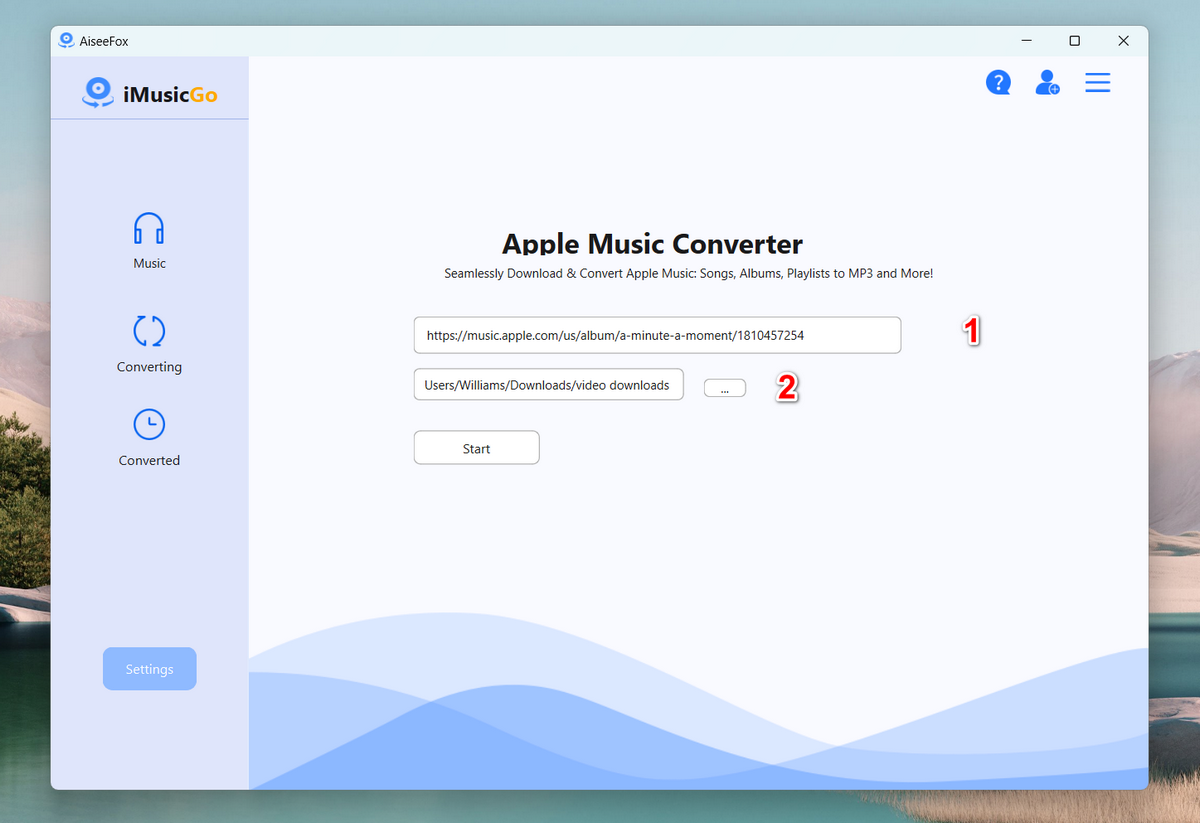
Step 4: Start Downloading
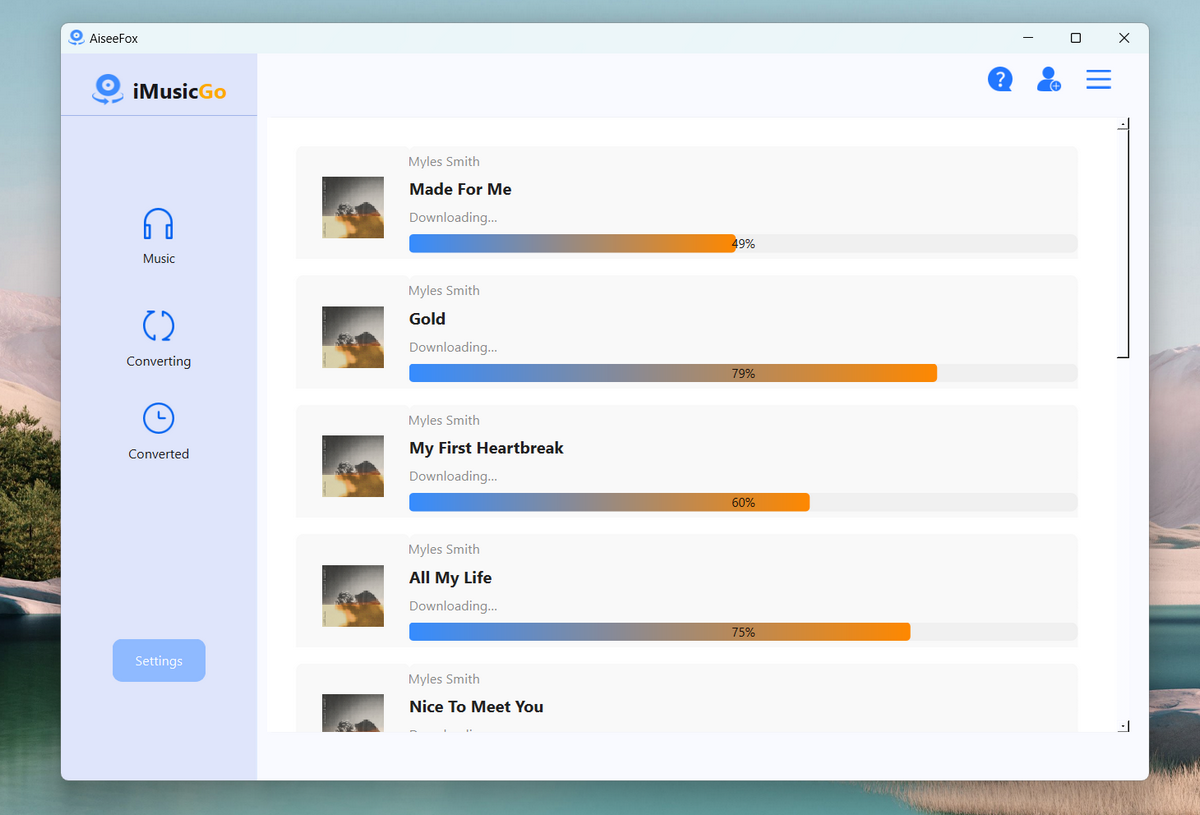
Finally, click the “Start” button start downloading the selected Apple Music songs, and they will be saved directly to your computer.
Once it is finished, go to the “Converted” section and you will see the details.
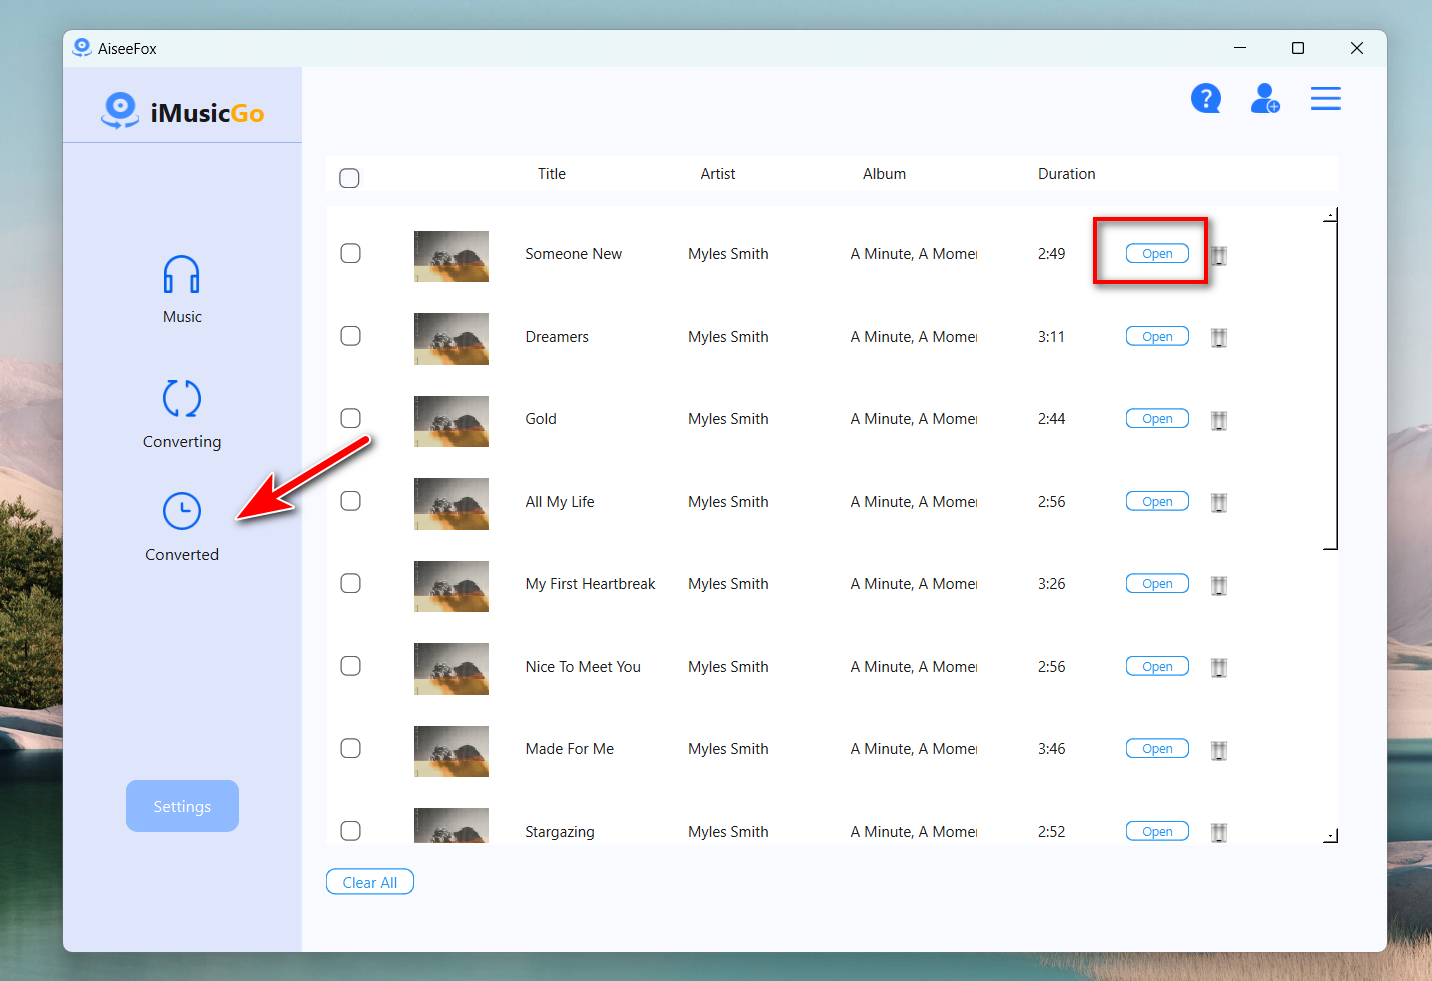
Next, click the “Open” button to open the download folder and you can see all songs are saved into the destination folder. Now, you can enjoy the music on any media device without restriction!
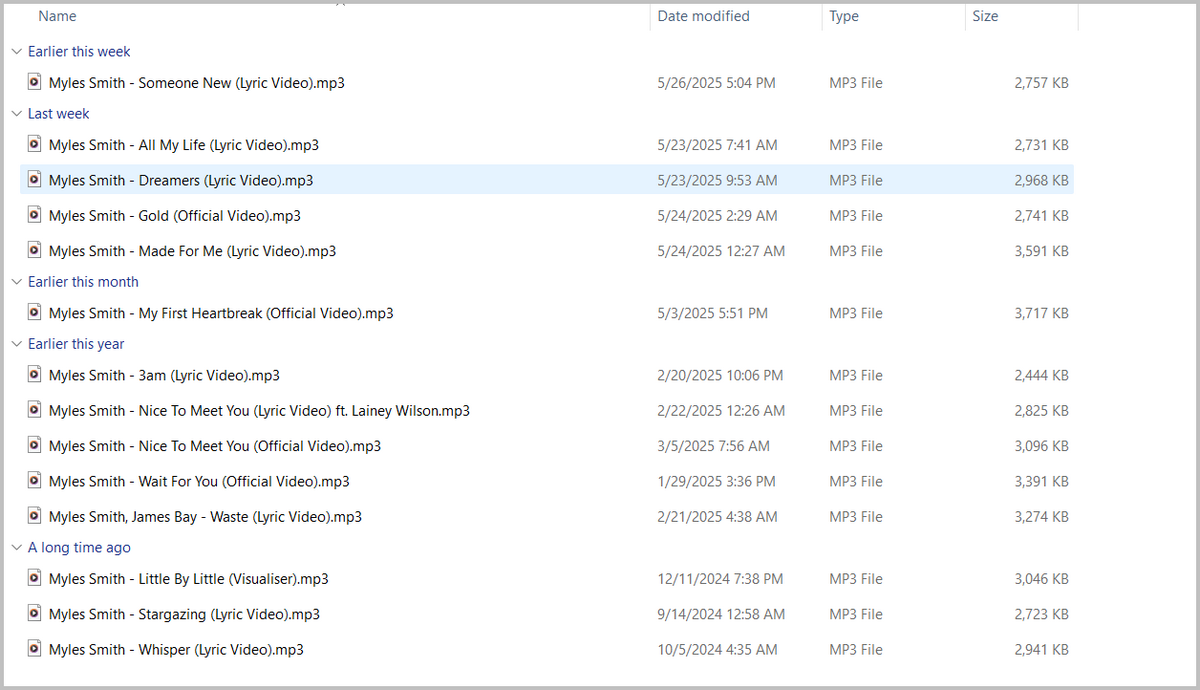
All my tracks show up, named properly, with album covers and everything. I can play them in Groove Music, VLC, or just sync them to my phone.
Final Thoughts
If you’re sick of restrictions and want actual control over your Apple Music library on Windows, iMusicGo is honestly the best downloader I’ve tried in 2025. It’s reliable, doesn’t bombard you with ads, and just plain works.
If you’ve got another tool you love, let me know—I’m always curious! But for now, iMusicGo is my go-to.